Showing posts with label ANDROID TIPS. Show all posts

Monday


Step 1: Install Power Button Flashlight

No root access is required for this functionality to work, all you need is the free application from development team at Brink Technologies called Power Button Flashlight.

Step 2: Activate the Service

To enable the application's service, all you have to do is launch it. A popup will show notifying you that the app is functioning and will require a three-press action of the power button to activate the flashlight (four if the device is unlocked).
There are a few settings you can adjust, like the vibration effect once the light is activated, how long it'll stay active, and the ability disable the service.


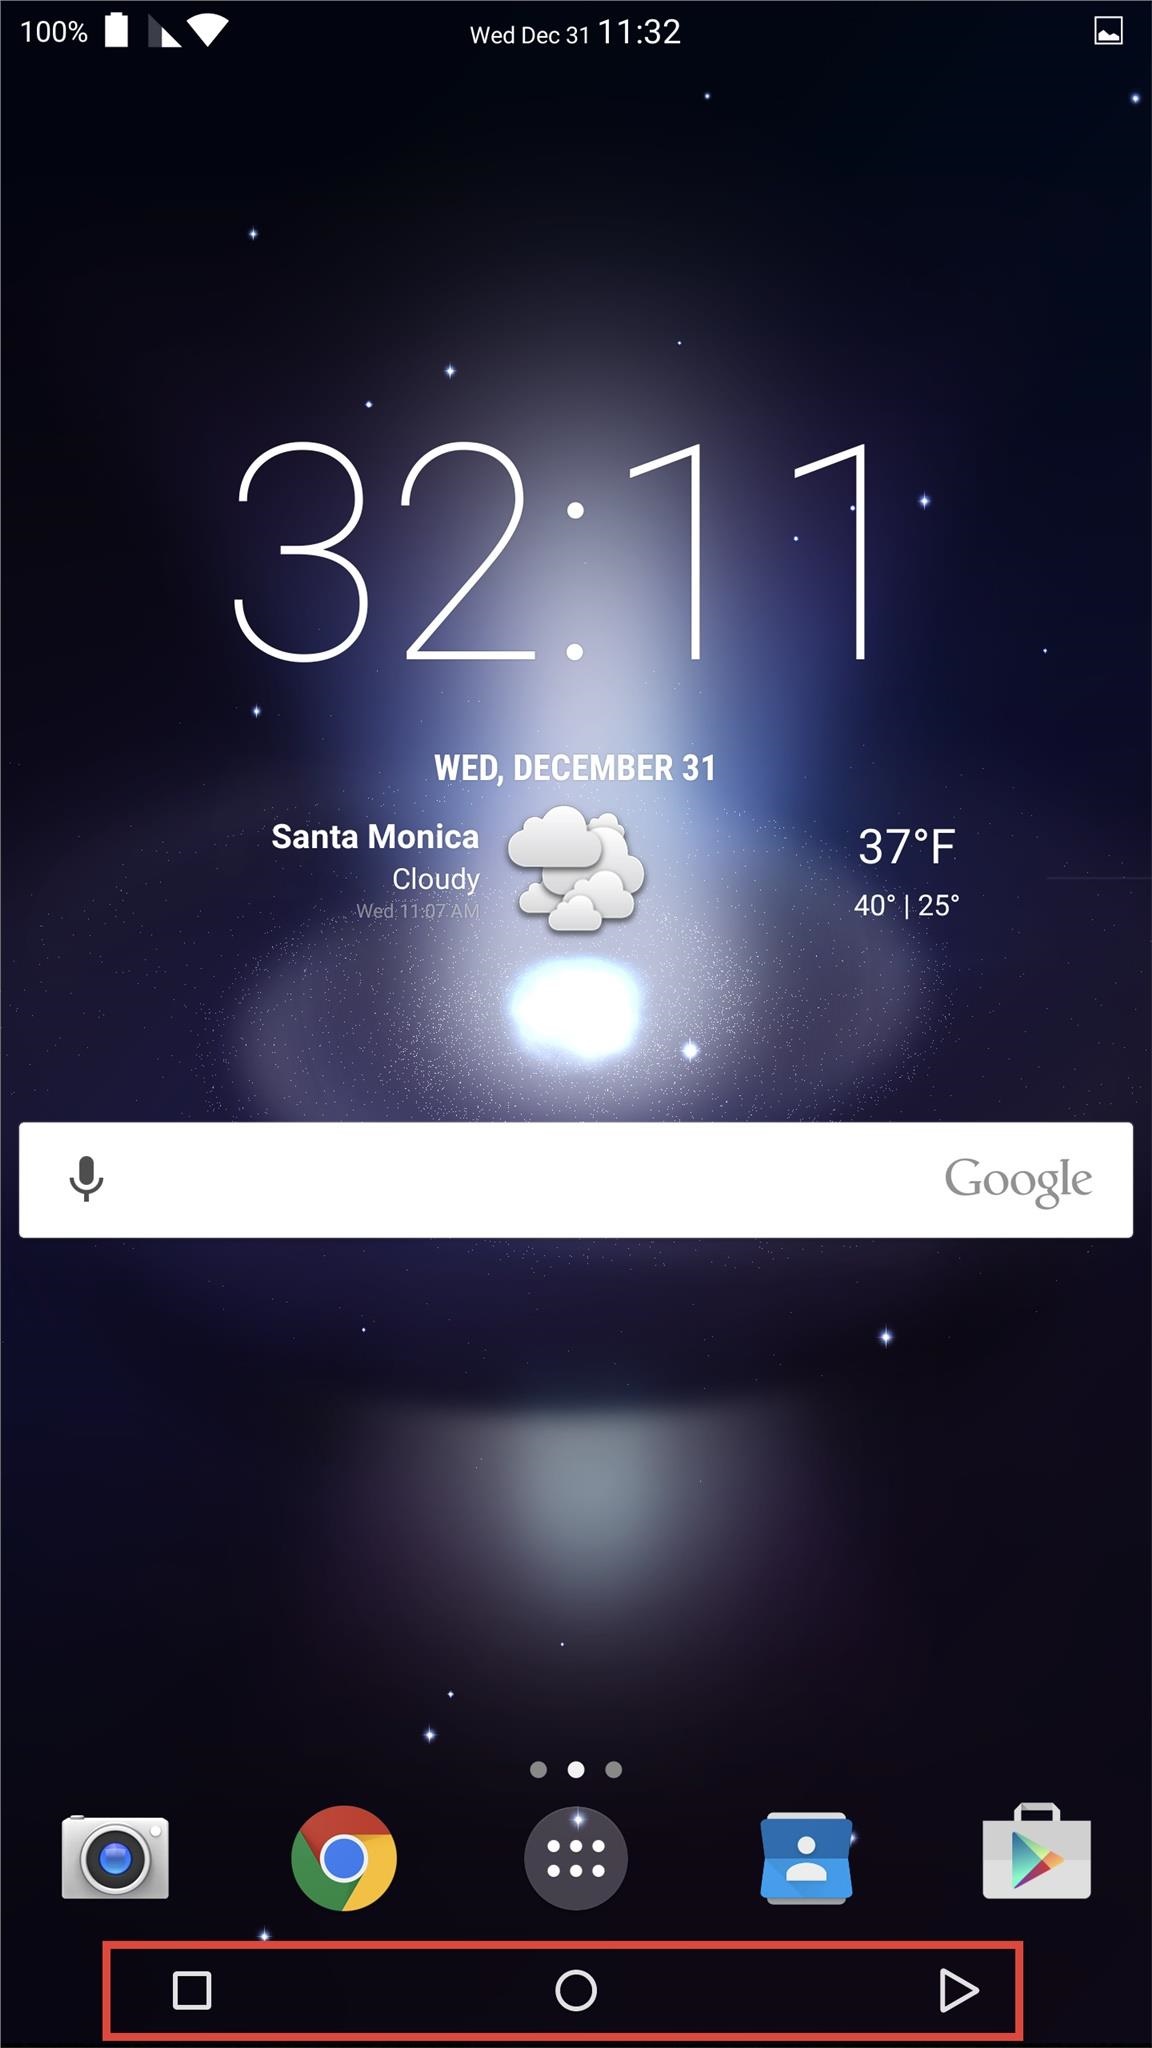
 Step 3: Toggle on Your Flashlight

As mentioned in the previous step, to activate your flashlight while the device is locked, simply press your power button three times within a three-second window (or four if the device is unlocked).
Disabling the light with the same power button action will require an in-app purchase of $0.99, which also removes ads, or you can save some money and use the notification it provides to toggle the torch off.


Take advantage of Power Button Flashlight as you get home from those late, hazy nights; it just might save you from a stumped toe.

Friday

Step 1: Download Game & Data Files

UpdateJust download the new updated Heartstone APK and patch files linked below and you're done. You don't need to follow any of the steps after.
Download the following three files directly on your device.
Move both the patch.785405 (Patch OBB) and the main.785405 (Main OBB) files in /storage/emulated/0/Android/obb/com.blizzard.wtch.hearthstoneand you're good to go. Install the APK and Heathstone will open. YOU DON'T NEED TO FOLLOW ANY OF THE STEPS BELOW.

Step 2: Unzip & Install the Hearthstone APK

Through My Files or any other file explorer, unzip the Hearthstone Update ZIP and find the Hearthstone Update folder.
Inside that folder, you'll find the Hearthstone APK and two OBB files you need for this to work. Make sure that you have installation from "Unknown sources" enabled on your device.
Install com.blizzard...stone.apk, but make sure that you don't open the application just yet—only install it.

Step 3: Copy and Move OBB Files

Now go back to the Hearthstone Update folder in My Files and copy both of the OBB files. Go to storage/emulated/0/Android/obb and paste the two files there.
Note: If you have an SD memory card or the game doesn't work when copying the OBB files there, instead place the two OBB files instorage/extSdCard/Android/obb/.

Step 4: Open Hearthstone

Finally, open the Hearthstone app and let it load—it should take a few minutes since it's a pretty large file.
Log in or create an account and you're ready to play! You'll receive a free pack of cards to start with, and you'll also be given a short tutorial on how to play the game.
If you have any trouble installing the game on your device, leave us a comment in the section below.

Step 1: Install Slipstream Music

The app that will let you and your friends share your entire music libraries is called Slipstream Music. Search it by name on the Google Play Store to get it installed, or head directly to the install page here.

Step 2: Play Your Music

Once you have Slipstream installed on your device, open the app and tap "Accept and continue." From here, you'll get a feature tour—just swipe through these instructions, then tap the final screen to enter the app.
The music player interface itself is rather intuitive—a tab-based UI lets you browse through your local library by artist, album, or songs.
[1] Albums view. [2] Songs view.
As a standalone music player, Slipstream is certainly capable. But the killer feature here is obviously its ability to play music from other Android devices connected to the same Wi-Fi network.

Step 3: Invite Your Friends to Join

To begin, establish your device as the host. Use the app's side navigation menu to select "Host," then enter a nickname for your device.
[1] Device A established as the host. [2] The nickname of your device.
Next, have your friends install Slipstream on their own devices, and make sure they are connected to the same Wi-Fi network. From here, tell them to choose the "Connect" option from Slipstream's side navigation menu, then have them choose your nickname from the menu.
[1] Device B connecting to the host. [2] Selecting the "GadgetHacks" host.
After that, you'll get a message on your device asking you to confirm the connection. Tap "Connect" on this message to complete the pairing process.
[1] The confirmation popup. [2] Tap on "Connect" to continue.
At this point, all music stored locally on both devices will be available to each user. To browse your friend's library, simply select it from the side navigation menu.
[1] Device B's library accessible on Device A. [2] Device A's library accessible on Device B.
You can repeat this same process for any other friends that would like to contribute to the playlist. When everybody has joined in, you can play their requested songs directly from your own device.

Thursday

Step 1: Enable Unknown Sources

I'll be demonstrating these steps using a Nexus 5, but the process should be virtually identical on any current-generation Nexus device running stock Android.
Since Hotz's Towelroot app is not available on the Play Store, you'll need to enable sideloading on your phone or tablet. To do this, just head to Settings, then tap Security. In here, tick the box next to Unknown Sources and press OK.

Step 2: Download Towelroot

Hotz has made his rooting app available to everyone by way of its website. Open up the web browser on your Nexus and head to towelroot.com to begin.
From here, tap the Lambda symbol to start the download, then press OK on any popup or warning message. Once the download is finished, tap the notification to launch the install process.
On the next screen, just press Install to begin. When finished, hit Open.

Step 3: Root Your Device

The Towelroot app only has one button, and that's the one that does all the magic. Simply tap make it ra1n to begin.
The app will take about 10 seconds to copy over the necessary root files, then it will automatically reboot your phone. When you're back up, you'll be rooted—that's literally all there is to it. You just rooted your phone in less than a minute.

Step 4: Verify Root

Once your phone or tablet comes back up after Towelroot's automatic reboot, you can verify that root was indeed achieved by grabbing Root Checker from the Play Store.
Just open up Root Checker and tap Verify Root to see the results.
While doing this, you may have noticed that Root Checker didn't ask you if you wanted to grant it root permissions. This is because Towelroot doesn't install a root management app—it just grants root to any app that asks for it.
This is a huge security risk, because malware apps can do some serious damage to your phone if they were to be given root permissions. An app that somehow snuck its way onto your device could silently be granted superuser privileges, then have unrestricted access to sensitive data on your device. No worries though, there's an easy fix for this vulnerability.

Step 5: Install a Root Management App

Chainfire's SuperSU is the leading root management app today. It offers compatibility with almost any root app and the latest versions of Android. With SuperSU installed, you needn't worry about malware apps sneakily gaining permission to access your system-level components.
From the Play Store app on your Nexus device, search SuperSU to get the root management app installed. Alternatively, you can head to this link to jump directly to the install page.

Step 6: Update Superuser Binaries

As soon as you open SuperSU for the first time, you'll be asked to update your Superuser binaries. Tap Continue on this first dialog, then choose Normal as your method of installation.
When the process is finished, you should get a message telling you that installation was successful. Just reboot your phone now, and you'll have an awesome Superuser management app that will keep malware at bay.
If SuperSU gives you a message that says "Installation Failed", just reboot your phone and run the process again. Regardless of what it says after the second attempt, the binaries will be installed. Give your phone one last reboot at this point, and you should be all set.
With a root app that you installed yourself whose developer you trust, just tap Grant on first run. If a shady app that you don't recognize asks for root, simply hit Deny and it won't be able to access your system partition.
Now you're Nexus is rooted, but it's still secure. You can start joining in on all of the root fun now. Perhaps even give the Xposed Framework a try and see all of the Gadget Hacks that opens up.
This is honestly the easiest root method I've ever used. How long did it take you to root your phone or tablet? Let us know in the comments section below.


Without a comprehensive root method for all Android phones and tablets, a device-specific approach is needed. And since we always cover each new rooting method for all the popular phones and tablets here at Gadget Hacks, we've built this always-updated guide to rooting any Android device.
Any time we find a new and better way to root, we'll be updating this post. Bookmark it now, and we'll be ready when you get your next new phone or tablet. Currently, this guide covers the following devices and methods.
You may click on the links above to go directly to the full rooting guides for those particular devices, or just scroll down below to find your Android device (in alphabetical order) and you'll be rooted in no time.

Step 1: Enable Developer Options

The RTL layout is actually a hidden option in the Android operating system, so in order to access it, you must first unlock the "Developer options" in the Settings menu, if you haven't done so already.
No matter what device you have, the process is pretty much the same: just go to the "About" section in your Settings menu and tap on the "Build number" seven times. This will enable the Developer options in Settings. For examples on doing this, check out our guides for the HTC One, LG G3, Nexus 7, and Samsung Galaxy S5, among others.

Step 2: Enable RTL Layout Direction

Now, head into Developer options and scroll down until you see "Force RTL layout direction" under the Drawing section. Once you select this option, your layout will automatically change to prefer RTL when possible.


[1] Tick the box next to the "Force RTL layout direction" option, [2] The menu with RTL enabled.
This option makes it a lot easier for left-handed users to select options using their primary hand. These settings will work with all system and stock applications like Hangouts, and will even flip the navigation bar at the bottom of the screen.


 [1] The Hangouts' menu on opposite side, [2] The nav bar with the Back and Recent Apps switched.
You can switch back to the standard layout at any time by unchecking the box next to "Force RTL layout direction" in Developer options.
Are you already used to the standard layout or does the change really help?

Unordered List

Sample Text

Blog Archive

Popular Posts

Recent Posts

Text Widget